How to install the front sway bar?
- Share
- Issue Time
- Mar 16,2017
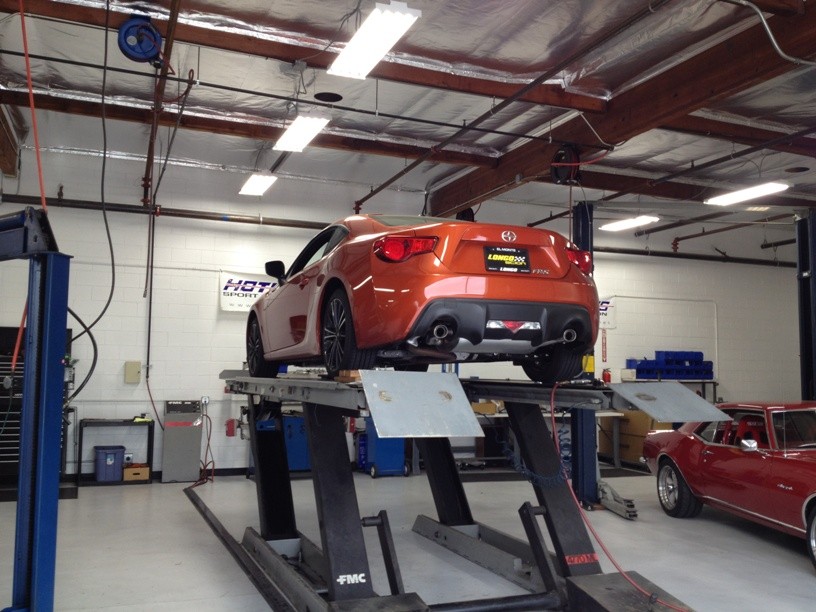
1F. Raise the front end of the vehicle either by using a lift or using a floor jack. Use jack stands to secure the vehicle if you are using a floor jack. Drive-on floor ramps may also be used. This installation will depict using an alignment rack. It is not required to droop the suspension for the front bar installation.
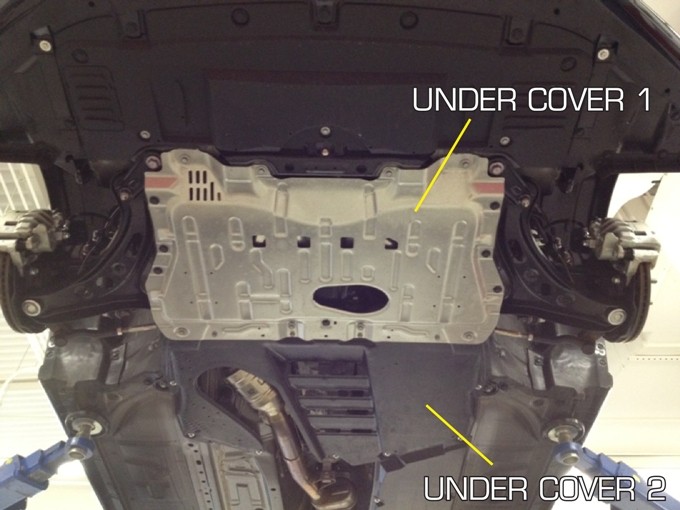
2F. Remove the two engine under covers. The silver aluminum cover is held in by 8 bolts and 7 push clips. The black cover is held in by 11 bolts. (10mm, 12mm Socket, slotted screwdriver)
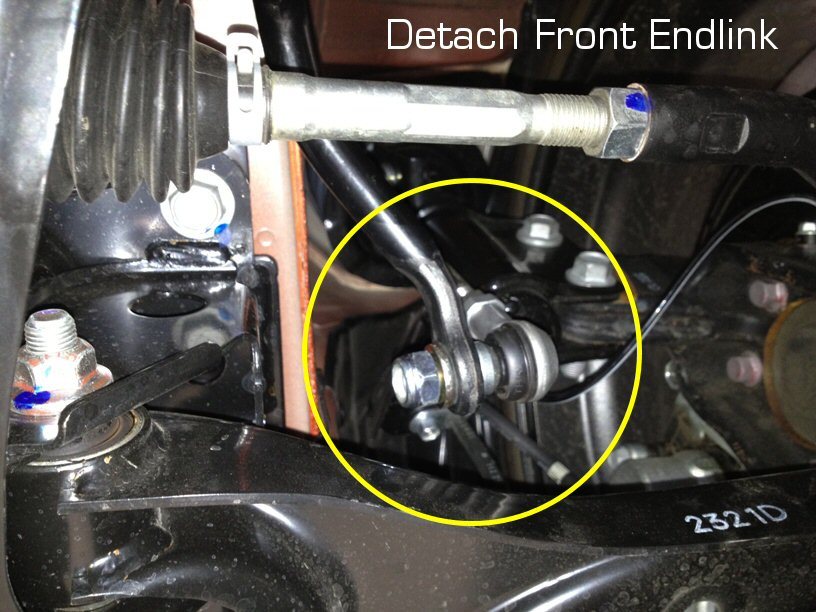
3F. Unbolt the end links from the OE stabilizer bar. (17mm wrench, 6mm allen)
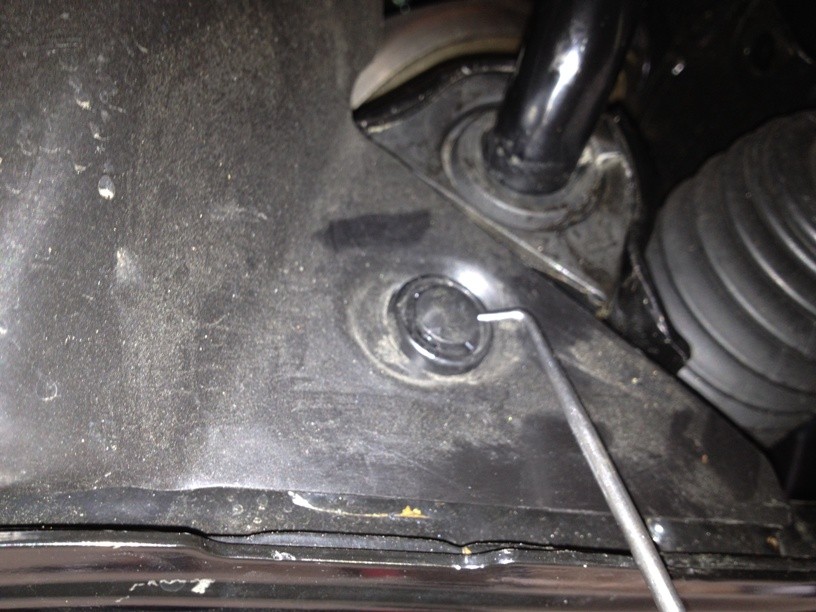
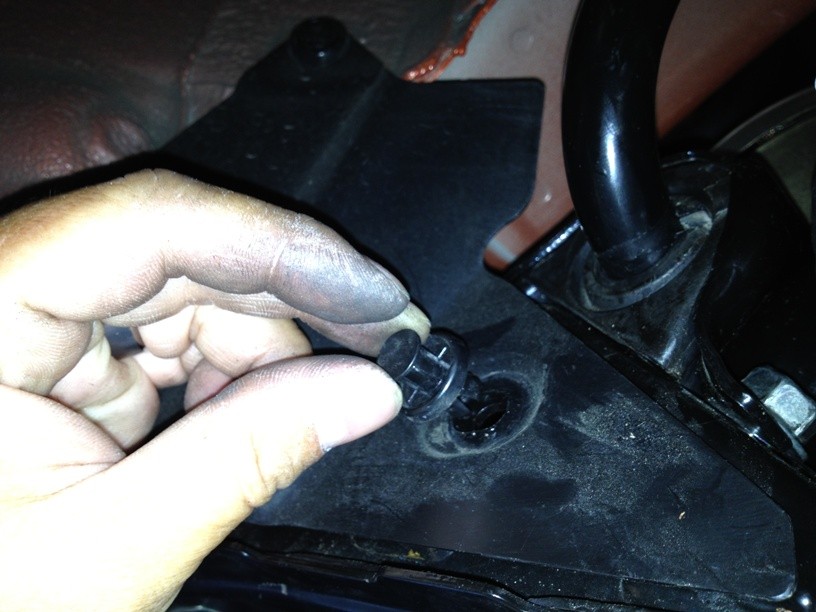
4F. Undo the single push clip on each side. It is located just below the stabilizer bar bushings. (Pick or slotted screwdriver)
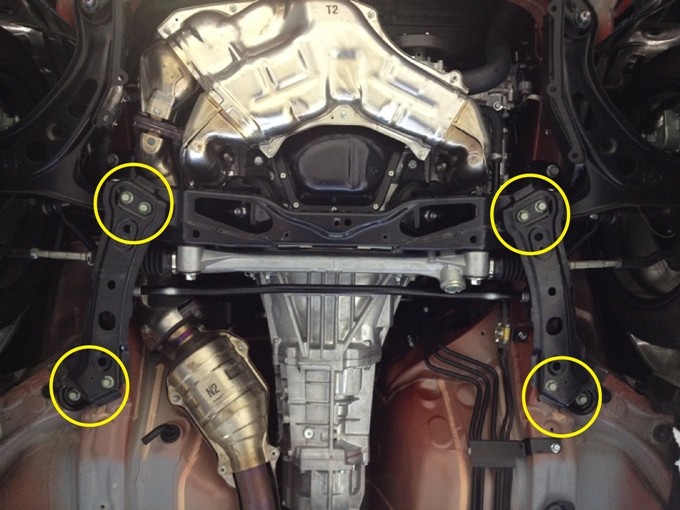
5F. Unbolt the 2 frame mount brackets. There are 4 bolts per bracket. (14mm socket)
6F. Remove the stabilizer bar assembly from the vehicle.
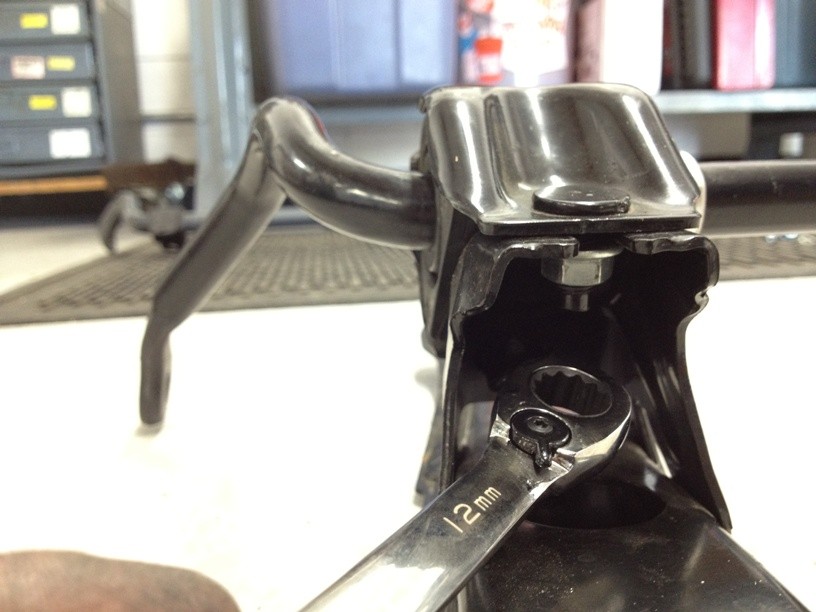
7F. Unbolt the bushing brackets on each side. Retain the bolts for reinstallation, but you may discard the OE bracket, bushing and nut when installing the Hotchkis bar. (14mm socket, 12mm wrench)
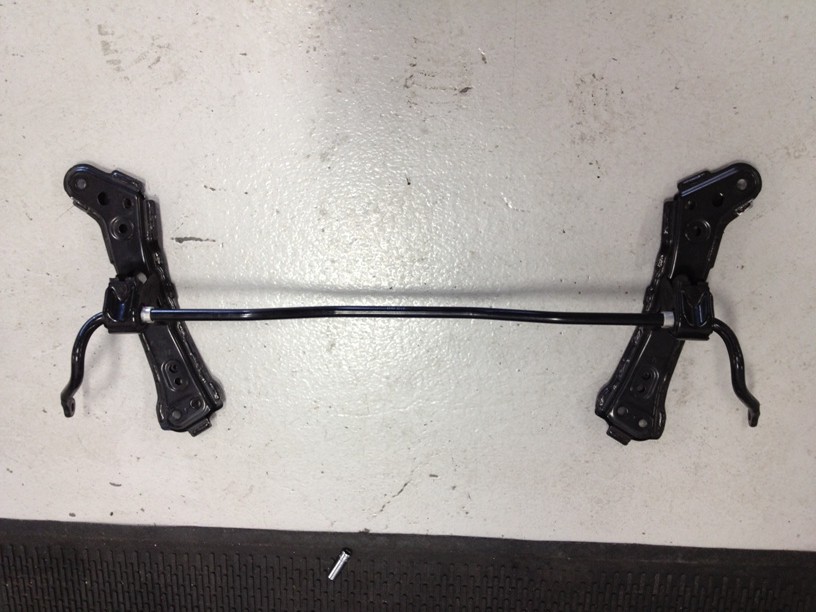
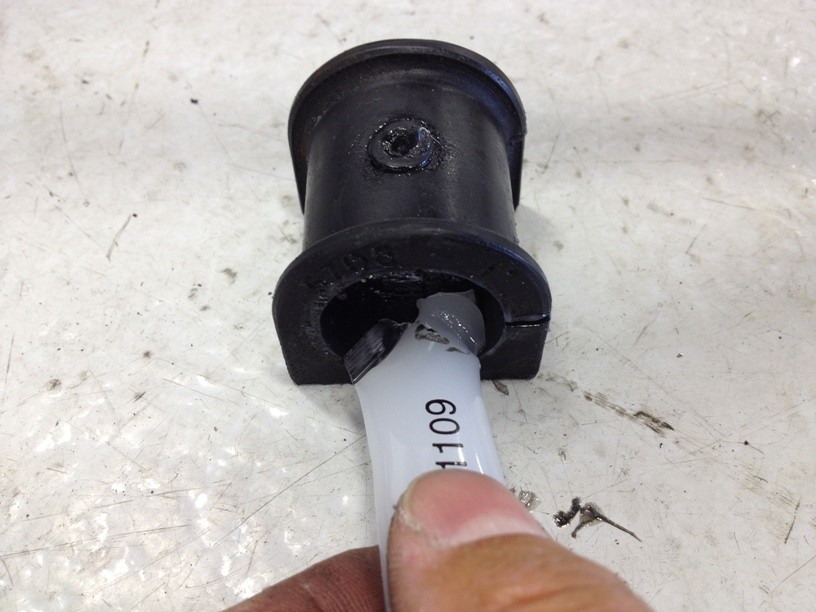
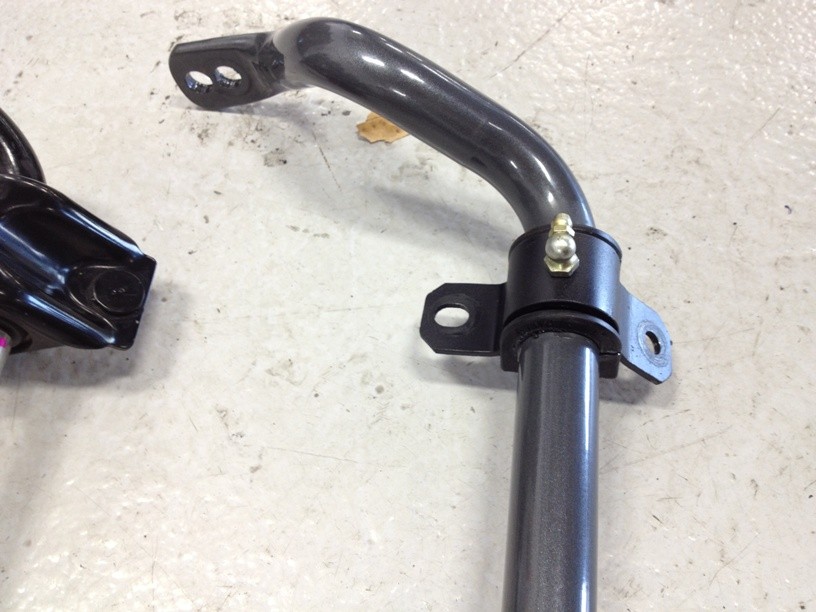
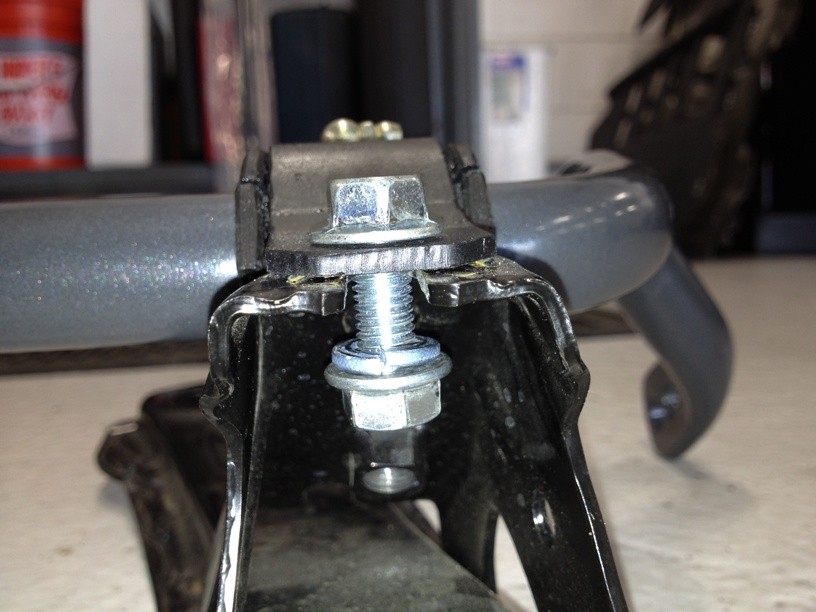
8F. Grab your new front stabilizer bar and install the included polyurethane bushing and bracket as shown. Be sure to apply the included silicon grease to the inner surfaces of the bushings before installing onto the bar.
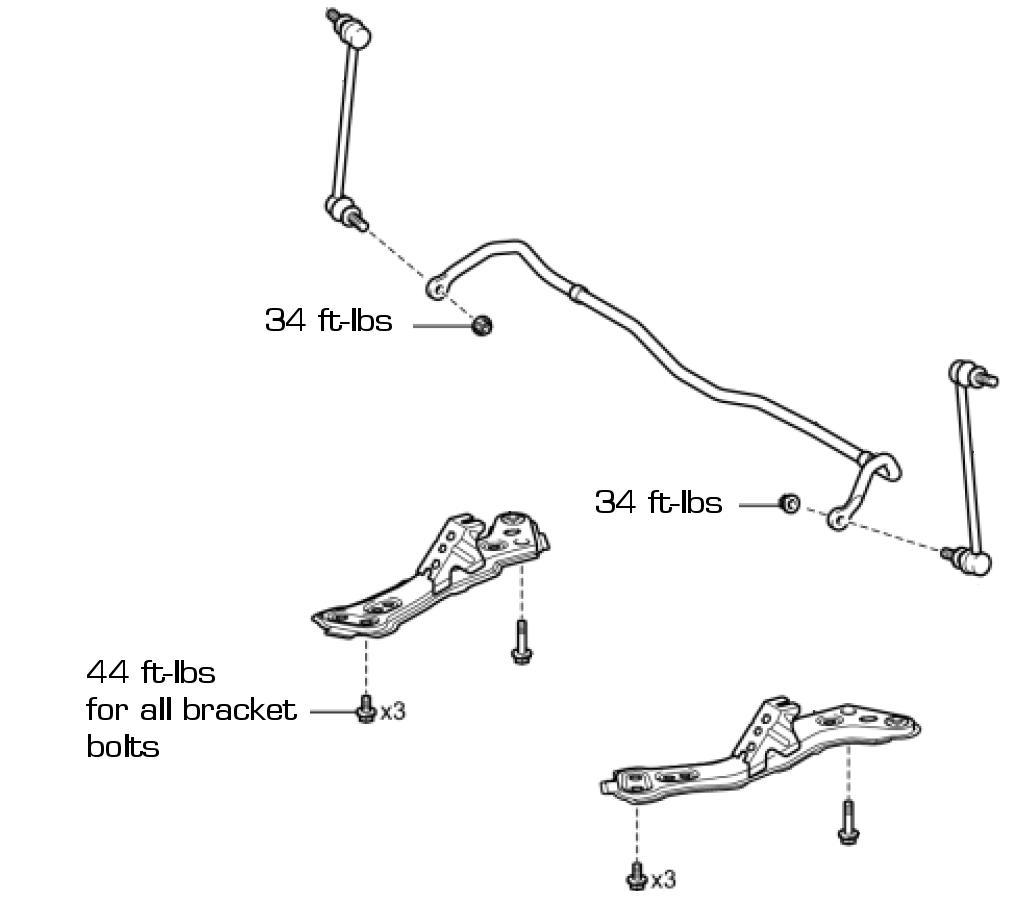
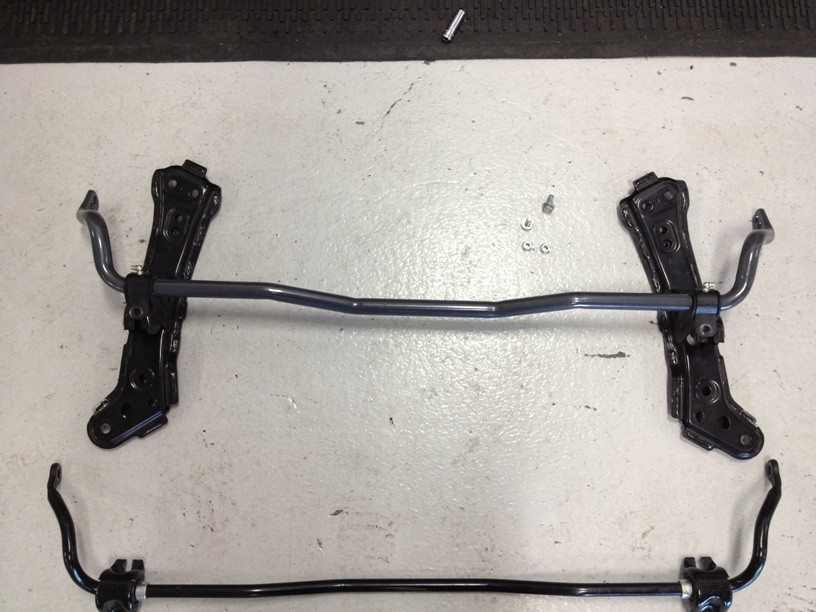
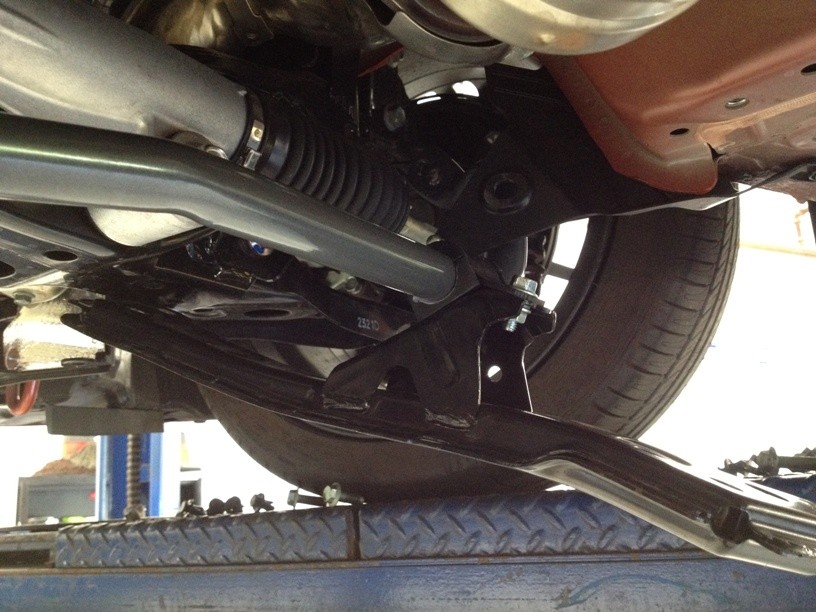
9F. Install the stabilizer bar and brackets onto the frame mount brackets. Reuse the OE bolt for the front and use the Hotchkis flange bolt/washer/nut for the rear. IMPORTANT: TIGHTEN THE REAR BOLT & NUT BEFORE YOU TIGHTEN THE FRONT BOLT. This will allow the bracket to position properly when tightening. (Front bolt: 55 ft-lb. Rear bolt and nut: 25 ft-lb)
10F. Reinstall the stabilizer bar assembly in the same manner as removal
11F. Repeat steps 1F-5F in reverse order. See below for proper torque specs.